OSRS Soul Wars Overview

Soul Wars is a minigame that was initially released onto the RuneScape platform in the year 2009. It played a role beyond expectation for the in-game players, and thus, it has now recently been added to OSRS so that both platforms can enjoy the fun experience that this minigame has to offer. Being a member-only minigame, only the players who have in-game membership can access the area. You can enter Soul Wars osrs through the portal that is located in Edgeville (southwest of the bank) or you can access it from the Ferox Enclave Dungeon.

Upon reaching the area, you’ll directly reach Nomad’s camp, where players can exchange their zeal points for various exciting and benefitting soul wars osrs rewards. You can talk to Nomad to learn about the area and how to play the minigame. The region is divided into two parts; the southern section allows PVP combat, while the northern section is a safe non-combat area.

Requirements

In order to play the minigame, you’ll need a total level of 500 or above, a combat level of 40 or above, and an OSRS membership. Other than that, you’ll need to be logged in to a specific Soul Wars osrs world, such as 320, 328, 329, 331, 336, 350, 477, and 525.

If You Need Some Cheap OSRS Gold, RSorder Will Be Your Best Choice!

How To Join?

Once you’ve gone through the instructions provided by Nomad, you can enter the game by stepping into either one of the barriers (left or right) where are indicated by the colors blue and red. Upon entering, you’ll reach the lobby where you have to wait for the match to being. Do keep in mind that you cannot switch sides if the other team is stronger, because it’ll unbalance the player count, and you’ll end up being left out.
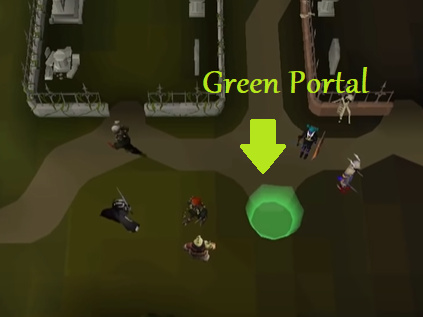
The best way is to use the green portal because it automatically sorts out the player count and balances the teams accordingly. Once the match begins, you can identify your teammates through the special cape color that is provided to you.

Basic Knowledge

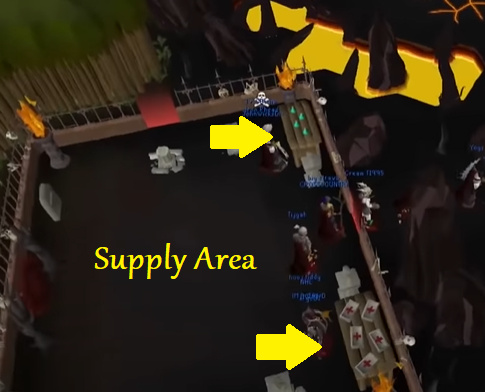
The initial starting point is your respective base’s graveyard, and do keep in mind that you cannot lose any of your outer graveyards to the enemies or you’ll have to respawn back here (further respawn point) once you face death. In every team base, you’ll find your respective avatars that need to be protected, along with a supply area that provides bandages, explosive potions, barricades, and other potions used for powerups.
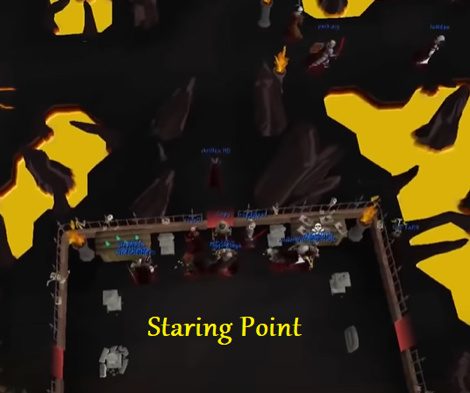
Avatar: Avatar plays a vital role in the minigame, because if the opposite team have more avatar kills than your respective team, then they’ll be declared the winner of the match. Even though it is strong and can defend itself from the enemies; if the attackers raid in a bunch, they can easily defeat it. So, always defend your avatar no matter what, while pushing forward and kicking the enemies out of your base area.

Supply Area: As mentioned above, you can collect a number of useful things from the supply area; Bandages that helps in healing you, restoring your run energy, and curing any type of poison. Barricades to block the enemies from entering the base, and each team can only add ten barricades (new ones can’t be added until the existing ones are destroyed). Explosive Potions that help to instantly destroy enemy barricades (good item to use while rushing to the opposite team’s base). Finally, Power Potions can boost your combat abilities, as well as restore your prayer points.
Gameplay

The entire Soul Wars osrs gameplay centers around the avatar, but protecting it using defensive strategies will not help your team win the match. So, for that, you’ll need to know about how the Soul Obelisk and the Graveyards function.

Soul Obelisk: The obelisk is located right in the middle of the island. This area must be captured by your respective team to sacrifice Soul Fragments and weaken the enemy avatar. The fragments can be obtained by killing various creatures wandering around the island. If you feel that an enemy has been stacking up on fragments for a while now, you can choose to kill him or her to steal them.

Graveyards: There are two graveyards that can be captured on this island, and it can be done by having your respective teammates standing nearby it until the capturing phase completes. However, the count of your team members should be more than the opposing party. Graveyards act as respawn points when you die and having the closest respawn point can benefit you in numerous ways. You can also restore the strength of your avatar by burying bones within the graveyard area.
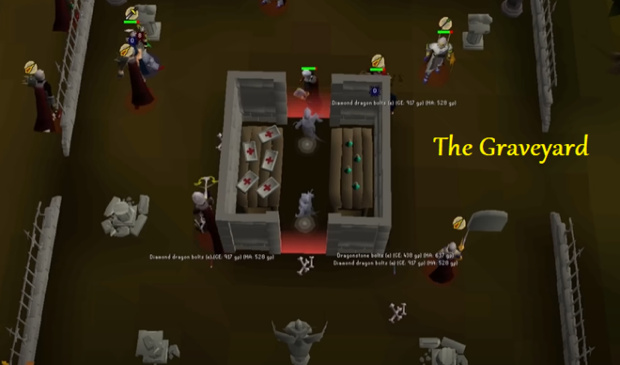
If your combat level is low, then a good recommendation would help your teammates kill creatures for bones, and keep burying them to restore the avatar’s strength. You can also help in collecting and sacrificing Soul Fragments at the obelisk. However, if your combat level is high, then work on Attacking and Defending the Soul Obelisk, Graveyards, or the Avatar. Go play some osrs soul wars now!
Diablo 2 Resurrected Act 2 Walkthrough

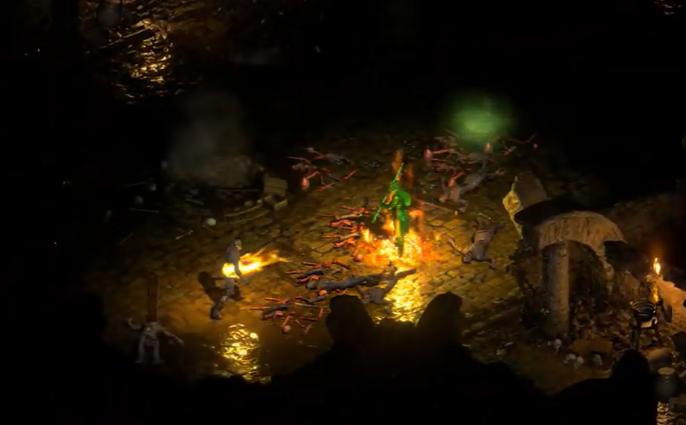
Act 2 begins at the town of Lut Gholein, which is also your new base. Before you head out to progress further, it’s recommended that you speak to the NPC named Griez, who is located in the right-hand corner of the town. He sells mercenaries that are worth upgrading from the one you picked during act 1. Desert mercenaries are melee-based characters, and they deal good damage so you can use them as a tank. They also have Paladin Auras to assist you in staying alive.

Generally, it’s suggested that you try to max out your resistances to match your current abilities as there are several enemies that you’ll encounter in act 2, who can deal immense damage to your character, for d2 quests. Besides that, use what you have and don’t worry too much since it’s your first time.

Radament’s Lair (Quest #1)

You’ll notice a closed door next to Griez. Click on it to open the entrance to the sewers of Lut Gholein, for diablo 2 act 2 quests. Head down to begin the quest (you can also speak to Anya in town to start). There are a total of three levels with the boss named Radament on the final one. The best suggestion is to hug the outside walls and follow them until you locate the staircase that leads down. Clear whatever is an encounter on your path and make your way to the last level, for diablo 2 act 2 quests.

When you’re there, drive Ramament’s minions away from him to thin out the air, and once the boss is manageable, you can take him down. It’s worth noting that he’s powerful even without his minions so be careful. Pick up the scroll that he drops, and then open the golden chest to receive another. These scrolls offer skill points.

The Horadric Staff (Quest #2)

Part 1

In this quest, you need to locate three different D2R items scattered across the map. First, go to the Rocky Wastelands that are beyond Lut Gholein’s gate. Make your way through the horde of monsters to reach the Dry Hills, for d2r act 2 quests. Stick to the edges until you locate a pass in the rocks that leads to the next location.

As you wander around, you’ll need to look for both the area’s waypoints, as well as the entrance to the Halls of the Dead. Head into the dungeon and start searching while defeating various dreadful mobs, for d2r act 2 quests. At the third level, you’ll encounter the mini-boss called Bloodwitch the Wild. Deal with her and open the chest to retrieve the Horadric Cube. It’s an important item that offers additional inventory space, and it also lets you transmute various items through recipes.

Part 2

Once you have the cube, keep exploring until you find the entrance to the Far Oasis. Also, look out for the area’s waypoint before heading down to the Maggot Lair. You’ll encounter Death Beetles, Swarms, and Sand Maggots here so watch out for them, for d2 quests. Follow the right-hand path when you enter the lair, and then switch to the 2nd floor, followed by the 3rd. Upon reaching, you’ll come across Coldworm the Burrower, who is the area’s boss. Defeat her and pick up the Staff of Kings drop.

Part 3 + The Tainted Sun (Quest #3)

Continue searching the outskirts of the map to locate the Lost City’s path. Once you enter, the entire area will go dark with a minimal light radius from the incoming enemy mobs. You can head back and speak to the NPC named Drognan to know what’s happening. Explore the Lost City to find a path that leads to the Valley of Snakes, also known as the home to the Claw Viper Temple. Within the temple, you’ll encounter Mummies and Skeletons, alongside a new monster class known as Claw Viper.

On the second floor of the Claw Viper Temple, you’ll come across the mini-boss named Fangskin. Bait his minions away from him before engaging him, and once he’s defeated, pick up the Viper Amulet drop. Add the items into the Horadric Cube to transmute the items into the Horadric Staff. Finally, head back and speak to Drognan and Cain to finish both the quests.

The Arcane Sanctuary (Quest #4) + The Summoner (Quest #5)

Enter the palace behind Jerhyrn, and before you head down to the Arcane Sanctuary, you need to go through the Palace Cellar. You’ll encounter Skeletal Archers, Blunderbores, Invaders, and Dune Beasts here. Near the portal, you’ll run into a mini-boss called Fire Eye, so keep your health pool full.

Once you’re in the sanctuary, pick up the waypoint, and head to the Summoner’s location, which is split into four directions (random). You’ll encounter Hell Clan Goatmen, Ghoul Lords, and Spectres here. When you’re finally there, get ready for a fight. Defeat the Summoner and click the pedestal to get the true symbol for Tal Rasha’s Tomb.

The Seven Tombs (Quest #6)

You can start this quest by speaking to Jerhyn. You need to head through the red portal at the Summoner’s lair to reach the Canyon of Magi. Look at your Quest Log to know which Tomb Symbol is the right one because there are seven temples in the area.

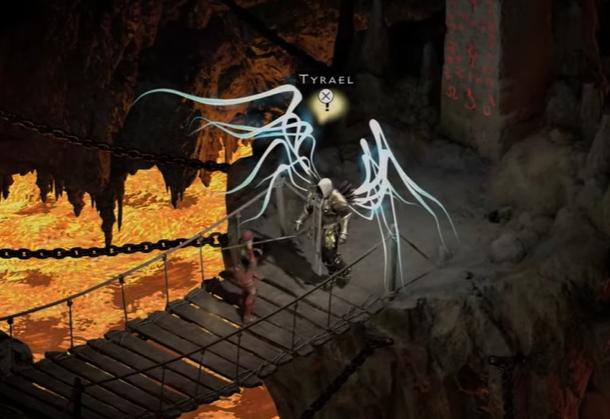
Within the correct temple, you’ll find Tal Rasha’s Chamber, which can only be opened with the help of the Horadric Staff. You need to prepare for a fight against act 2’s boss called Duriel, who is fast and strong. Once he’s defeated, you can head to the back of the area and speak to Tyrael. After that, head back to the town, speak to Jehryn, followed by Meschif to reach the Kurast Docks (Act 3).

New World Builds: Musket & Rapier

Musket & Rapier Build centers around utilizing Musket to pick off the distant enemies or player opponents and then using the Rapier when they’re in a melee range. It’s both, a PVE and PVP build, which is good in landscape areas, as well as while fighting other players. So, if you’re seeking a genuine build related to muskets and rapiers, then this guide is especially for you.

Working of the build

The opening will always be the Musket’s Burning Status effect with the Powder Burn ability. This won’t only inflict increased damage, but also deal 20% weapon damage every second for the next nine seconds. Your opponents will deal damage as they run towards you with this burn, allowing you to defeat with a single blow, as they’ll be weakened to that level of health.

After that, you can utilize Traps to fixate the enemy at a given point to finish them off with the followed blow, or if you want to conserve your ammunition, then you can finish them off with a Rapier. The concept of this build is to fight at a range, and only use the Rapier when it’s necessary. You will be using plenty of ammunition along with the battle, so that’s primarily why we’ll be listing down how to make them and where to locate the materials to do so.

Attributes

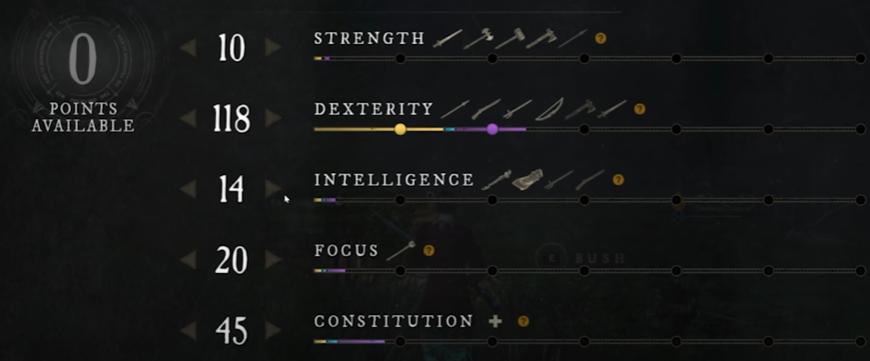
Both the weapons of this build scale with Dexterity and Intelligence, making them an outstanding pair. Both the weapons scale mainly with Dexterity, so you need to prioritize them while allocating the attribute points. Add them while leveling up to maximize the attack and per-shot damage, and only place the points into Intelligence once you’ve maxed out Dexterity. The more damage you inflict, the lesser shots you will need to fire, thus, allowing you to save plenty of ammunition.

Besides that, get your Constitution to around 50 to make the healing consumable and more effective (20%). It’s because you will be chugging consumables in both, PVP and PVE scenarios throughout your gameplay.

Musket Skills

Powder Burn

Power Burn is an opening skill to set a powerful DOT on the enemy target that’s based on your respective damaging weapon. The better weapon you possess, the better damage is inflicted. It’s also quite effective against players because they can continue to take damage over time when you panic heal. For instance, if you hit them with Power Shot, they will end up panic healing, but concerning Powder Burn, it ensures that some of their health is diminished.

Sticky Bomb

Sticky Bomb is a little unwieldy, but once you get a proper hand at it, then there’s nothing stopping you from inflicting immense damage. Even though it’s situational, it offers the AOE that Musket sorely lacks, for New World Build Guide. It’s good for PVE scenarios when you pull in too many enemies, and it’s also good for PVP battles when the opponents are grouped together. Use it on enemies that are stuck in your Trap, and then fire into them for burst damage.

Traps

Traps are best utilized in PVE than PVP scenarios, but they work well in both. They can trap the enemy in place, slowing you get to land an easy and clean shot on them, which is great against aggressive enemies or player opponents. Once they’re upgraded to their extent, you can place down two Traps at the same time.

Rapier Skills

Flurry

Flurry inflicts immense damage quickly, but it can be quite difficult to appropriately complete the entire combo. You can utilize it with Riposte when the enemy can no longer move so that all your hits are successfully landed, for New World Rapier. If you land the ability behind an opponent, it will crit every strike and cause significant damage.

Riposte

Riposte is absolutely necessary and outstanding as it lands an attack and then stuns the enemy target. It can parry plenty of attacks at the same time if multiple targets attack it once, which then makes it highly effective. You can use it against the enemies you get into the melee range first, and then counterattack after, or you can stun them to get out of the melee range.

Fleche

Fleche allows you to dodge through the enemy target while placing you right behind or away from them. It also inflicts damage at the same time. You can use it to cover the distance on the opponent who is trying to get away from your Musket range or use it to get away if you’re outnumbered and there’s no chance at winning.

Weapons & Armor

When it comes to New World Muskets, you need to look out for the ones with Dexterity attributes to enhance the damage output, alongside other perks that can help too. If you have a weapon with a gem socket, you need to obtain an Onyx gem to increase the damage against NPCs with full health. Besides that, Crit Damage is also good to guarantee Crit by targeting the head of the enemy.

Speaking of New World Rapier, once again Dexterity attribute is important to increase the overall damage, alongside Light & Heavy attack damage. Crit Chance is phenomenal as you won’t always hit the backside of a target, and you won’t be able to constantly aim for the head for generated Crits.

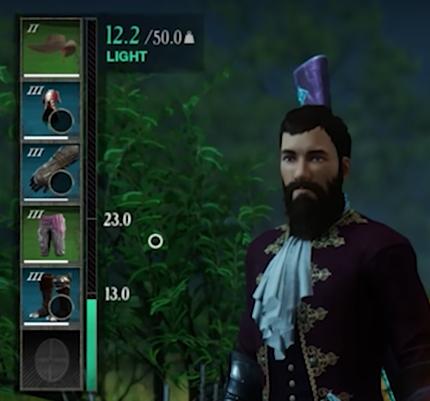
Speaking in terms of Armor, for New World Build Guide you would likely want to consider the Light variant for +20% improved damage. It’s highly recommendable for both, PVP and PVE scenarios. Look for Dexterity or Dexterity + Intelligence in your armor pieces to maximize the damage with every hit.

OSRS Garden of Tranquillity

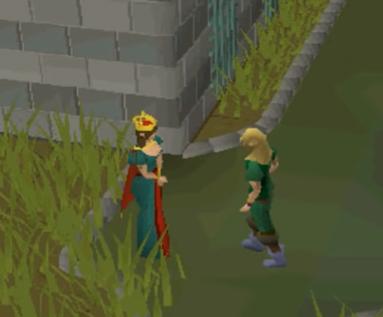
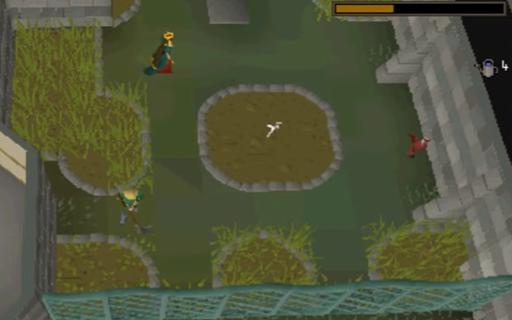
Garden of Tranquillity takes you on an adventure to become an experienced gardener. You need to construct a Garden of Peace for the Varrock Queen. It’s going to be a surprise for her husband, so shush… There’s a lot to get through to complete this quest, so we hope you’re ready!

Requirements

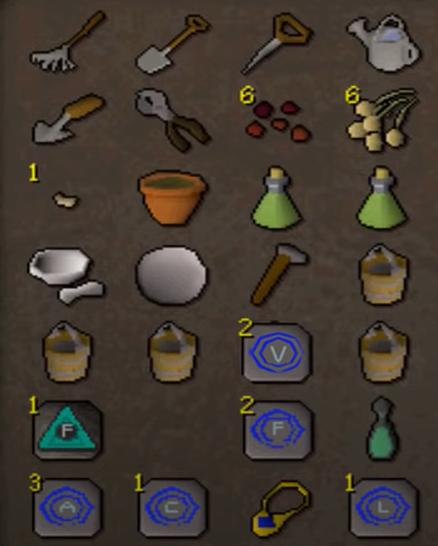
You’ll need a 25 or higher level in Farming, and you’ll have to first complete Priest in Peril, The Restless Ghost, and Creature of Fenkenstrain to begin Garden of Tranquillity. Besides that, you’ll need all Farming Tools, Onion Seeds, 3x Cabbages, 2x Plant Cures, a Ring of Charos, and a Marigold Seed.

Walkthrough

As the quest starting point is at the Varrock Palace Kitchen, you need to locate Queen Ellamaria, who’ll give you a list of the following items. You’ll need farming equipment that includes a Seed Dibber, Rake, Watering Can, Space, Secateurs, and a Gardening Tool.

Ring Enchantment

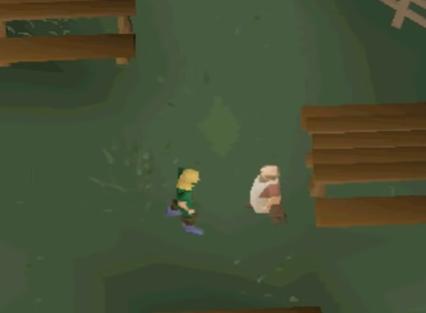
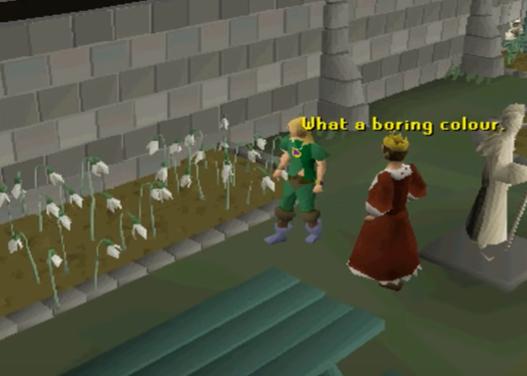
Head to the Draynor Village and speak to the Wise Old Man with the Ring of Charos in your inventory. After a boring story about Queen Ellamaria, King Roald, and where the ring came from, he’ll ask you seven questions.

The answer to the first question is “Show them a range of colors…” | Second answer is “Take his generous gift even though…” | Third Answer is “It’s absolutely, unquestionably the most…” | Fourth answer is “Put on the silly helmet and …” | Fifth answer is “You of course Pkmaster0036, no one…” | Sixth answer is “Ask me nicely and I might consider it” | Seventh answer is “No, especially not the wise old…”.

Once you’re done answering all the questions, the old man will enchant the ring for you. Equip it and toggle the ‘Charm’ option on the NPCS the queen has asked you to look for.

Seed Gathering

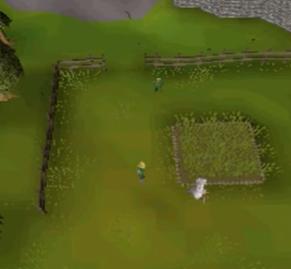
Head to the farming patch between Port Phasmatys and Fenkenstrain’s Castle, while having the ring equipped. Speak to Lyra there, asking her to spare some seeds. You need to use the charm option during the conversation you have with him.

The final option would be about growing onions in the nearby allotment. It’ll take about 40 minutes so you can do something else. Once done, speak to Lyra again to get 3 Yellow and Pink Orchid seeds each.

Head to the Ardougne (east) farming patches next and speak to Kragen. Do the same as you did with Lyra (charm option). In the end, agree to inform him when the cabbages are ready.


Time to grow onions again. This will again take 40 minutes to grow, so you can move to the next part of the quest instead of killing time. You need to speak to Kragen once they’re grown, and he’ll give you 4 Snowdrop Seeds.

The next stop is the farming patches between Draynor and Falador. Speak to Elstan there and repeat the same to get Delphinium Seeds. The only change is that you have to grow Marigolds this time.

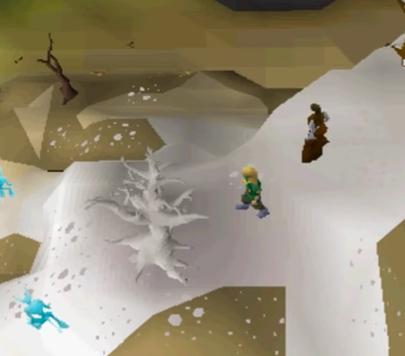
Moving on, speak to Dantaera at the Catherby Farming Patches. After the conversation, you’ll see Dantaera chopping off branches from a White Tree, located west of Edgeville on top of the Ice Mountain.

What you need now is a Secateurs, Watering Can, Gardening Tool, and a Plant Pot (with soil). Use the Secateurs on the tree to get a White Tree shoot, then use it on the plant pot, and then add water to grow a sapling.

The next destination is the Edgeville Monastery. You need to go north of it and speak to Brother Althric. At the end of the conversation, he’ll throw your ring in the Edgeville well stating that it’s evil. You can get it back using a Fishing Rod later. Speak to him again and he’ll hand over some Rose Seeds.

Burthorpe

Head to the Toad & Chicken pub in Burthorpe, and then head east into the garden. Speak to Barnald to know about his dying vines. He’ll want a plan cure from you, so speak to Alian at Taverley to get it.

When heading back, go south to where Alian first was to relocate him. He’ll be near the tree patch. Now, use a hammer on a Pure/Rune Essence to get Rune Shards, and then use it on a Pestle & Mortar to make Rune Dust. Add the dust into the potion to strengthen its power, cure the vines, and get Vine Seeds from Alian.

Statues

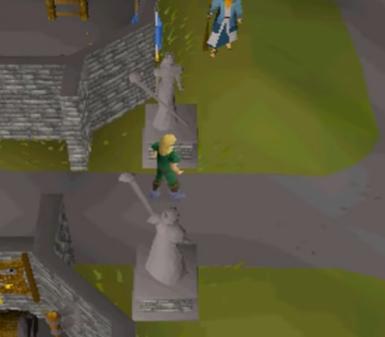
Head back to the Queen and ask about the Statues. She’ll give you a trolly to transport them. The first one is located in Lumbridge. Head out of the castle and transport the one that is described as King. You’ll have to push it all the way to the Queen’s Garden so brace yourself.

Similarly, the second one is in the city square of Falador. You need to get the statue out of there as quickly as possible (once the cutscene ends), or else the guards might catch on. You need to place the first statue to the east and the second statue in the middle.

Garden

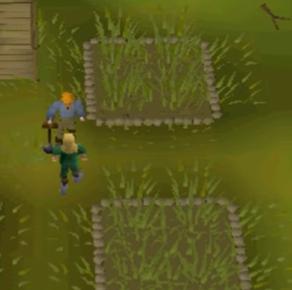
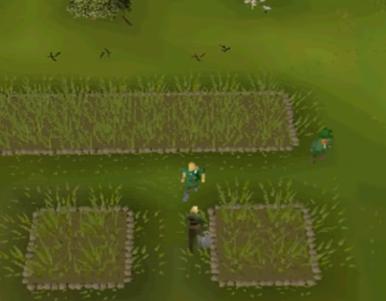
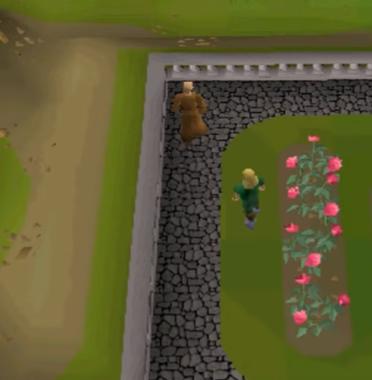
In the Queen’s Garden, you need to check out all the farming patches and strike your rake over them to remove any weeds. Next, you have to plant seeds so make sure you add compost to the Orchid Pots before planting them. Also, remember to water the White Tree so that it can be planted.

Once they’re all fully grown and you’ve placed the statues, speak to the Queen, who’ll then ask you to speak to King Roald. You can find him on the ground floor of the palace (southeast). If you haven’t already retrieved your Charos Ring, then do what’s required and charm the King.

A cutscene will begin, followed by another, and finally, the Queen will reward you for your hard work. Thank you for reading. We hope this guide was helpful!

By the way, If you need to buy osrs gold, accounts, Items, boosting service, quest service, or other runescape service, please click here!

Runescape Guide to Quick Cash for Beginners (F2P)

OK, so the first thing you’ll be doing in Runescape on your new account once you sign up is finishing the tutotial island guide. This will help you get a grasp of the basics of Runescape, and basically how to get around and train certain skills such as cooking, woodcutting, mining, smithing and so on so forth. In that case, I’ll just skip the mere basics.

Once you’ve completed the tutorial island section, you’ve now moved on to the “beginner’s town”, which is Lumbridge. You can start exploring the castle, the courtyards and when you’re bored of those, you can open up the map and look around for new places to explore. But if you want to cut all that, and just get to the important stuff, the most important things you’ll need, is of course, cash. Without cash, there’s no armour, food, equipment – you get the point.

When you start earning your cash, you might want to level up your combat skills as well. To do this, head over to the farm near Lumbridge. If you don’t know where this is, ask someone to take you there. Here, you’ll find level 2 chickens running around. Your starting combat level will be 3, so it won’t take much to kill these off. You could use your bear hands and feet to kill chickens, but if you can get your hands on perhaps a decent weapon, by all means, please do so. Now, this method helps you to level up your character, of course. And while you do this, you can collect the dropped feathers. As useless as feathers may sound, the are highly in demand because of their use in the fishing skill. These can sell for a few gp each, which is not much, but when you keep collecting them, they can earn you a fair bit of cash. Another good thing is that feathers are stackable, so you won’t have to run to bank them. They also drop bones and raw chicken meat. The meat isn’t so important unless you want to cook them, but the bones should always be buried. This’ll help you train your prayer skill which in the long run, can be pretty useful.

Another easy way for cash, (and this is also a lot faster) is to mine rune essence. The first quest you should do when you arrive at Lumbridge is to finish up the “Rune Mysteries” quest. If you’re lazy, (like me) you can just follow this guide. Sal’s Realm of Runescape is a great gudie website. This guide’ll give you a walkthrough for the quest. Once you’ve finished the quest, grab a pickaxe and head over to the rune shop located in Varrock. From here, Aubury (the shopkeeper) can teleport you to the mining site. Just click on the rune rock, and you’ll start mining rune essence. Unlike normal rocks, you just have to click once and your character’ll start mining till you hit a full inventory. This is a good way to start off your mining skill and earn cash. Rune essences sell for around 60gp now, according to the update. The price may vary, but it still sells for quite a fair bit.

These are the basic ways for earning cash as a new player in Runescape. As you progress further into the game, you’ll want to know how to use the Grand Exchange. The Grand Exchange (also known as the “GE”) is extremely useful for buying items without having to ask people if they’re selling them. Now, contrary to what some other guides may say, staying in Karamja Island to collect bananas for a mere fee of 30gp for quick cash isn’t a good money making method. Simply because 30gp isn’t a lot, and you’ll have to walk a fair bit to collect the bananas, a lot of clicking is required and bananas are NOT stackable. You’ll have to stay on the island for quite some time to earn a decent amount of cash without any other additional exp for any skills.

My guide for now stops here, and I’m sorry if it’s a bit messy and all. Good luck with everything. Cheers.